1.866.392.4897  | sales@timesys.com   English Japanese German French Korean Chinese (Simplified) Chinese (Traditional)
Powered by Google TranslateTranslate

Your Vigiles Prime 30-day Evaluation: Part 2 – Triaging, Remediating and How to Get the Outcome You Want

Making Vigiles Work For You

Overview

This page will finish going through the typical Vigiles workflow. By the end of this walk-through, you should be able to efficiently filter vulnerabilities for your product, triage the results, and start applying the remediation needed for the CVEs that you prioritize and then know how to achieve the outcomes that matter to you.

Triaging Vulnerabilities So You Can Prioritize What to Fix

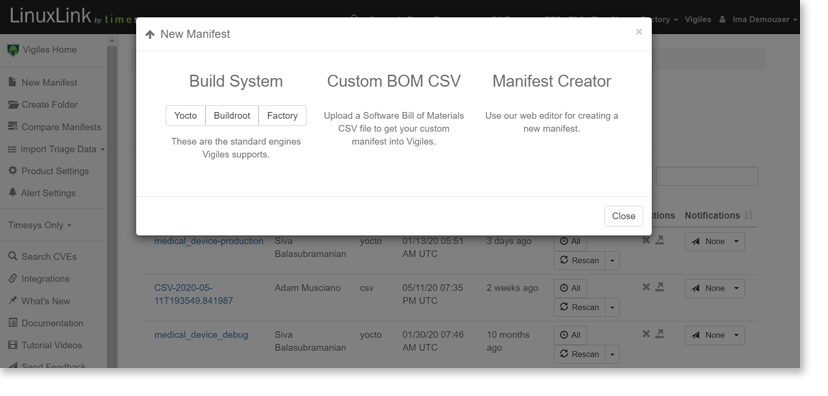
Vigiles already reduced most of your work by only showing vulnerabilities that apply to your build. The next step is to identify the CVEs that you want to fix or that you want to ignore by actively whitelisting.

Once your software bill of materials is scanned and your report is generated, you can filter the CVEs based on several metrics: package affected, patch or fix availability, CVE severity, custom scoring, affected platforms, whether or not you added notes or comments, and kernel and U-Boot configuration options. If you can’t find a filter that works in your triage, let us know, and we’ll look into adding it.

how filters work

Vigiles Prime feature

Filters

Use the filters in the CVE section of the report to focus on the CVEs that your organization wants to address. Try to use the kernel and U-Boot config filtering to leverage the nature of your custom build.

Vigiles Prime feature Vigiles Plus feature

Add Notes

You may want to document your triage decisions in the notes. Depending on your regulatory requirements, this might be a necessary step. Keep in mind that notes on a given CVE are stored at the product level in Vigiles. All other manifests in the same product will share the same CVE note.

Vigiles Prime feature Vigiles Plus feature

Whitelist

A CVE might not apply to your system (a false positive) or not be important. Whitelisting will change the CVE status to Whitelist, allowing you to focus on Unfixed CVEs. The whitelist settings are also stored at the product level and are shared across all manifests within a given product.

Vigiles Prime feature Vigiles Plus feature

Custom Scoring

You can use internal or organizational metrics for CVEs and store the value here.

CVE Remediation Collaboration Tools

Vigiles Prime feature Vigiles Plus feature

Team Collaboration

Manifests can be shared, enabling other team members to add notes to CVEs and to whitelist them.

Vigiles Prime feature Vigiles Plus feature

Jira Integration

Vigiles can be connected to Jira so you can create an issue from within the Vigiles report interface and link it to a product manifest. You can add and delete tasks in Jira for CVE entries in your product’s Vigiles reports, as well as create and delete issues for packages.

Remediating Vulnerabilities

Once you know which CVEs you want to address, you’ll need to take action.

remediating CVEs

For all of the CVEs that are found in your scanned manifest, Vigiles will let you know if there is a fix that will remediate the vulnerability or if there is no known fix yet available.

If there is a fix for the vulnerability, Vigiles will give you the patch, minimum version, and or config option information needed to mitigate it. Links to the appropriate resources are also available in the report.

Vigiles Prime feature

Suggested fix for OSS CVE remediation

Identifies a version of software where the CVE is fixed and/or provides links to user space patches where available

Vigiles Prime feature

Minimum kernel version with a fix for a kernel CVE

Identification of the minimum version of a kernel with the CVE fix

Vigiles Prime feature

Reference links to available patches, remediation, and exploits

Links to the available patch, workarounds for remediation when a patch is not available, and for recreating the CVE exploit for testing

Vigiles Prime feature

Link to mainline kernel fix commit for Linux kernel CVEs

A direct link to the CVE fix in the mainline kernel

Using the information from these features, you can choose to upgrade, patch/backport or mitigate with a config option change.

Continuous Monitoring

Vigiles Prime feature Vigiles Plus feature Vigiles Free feature

Upload an updated manifest

After you’ve made kernel fixes, upload an updated manifest so you can continue tracking and compare reports.
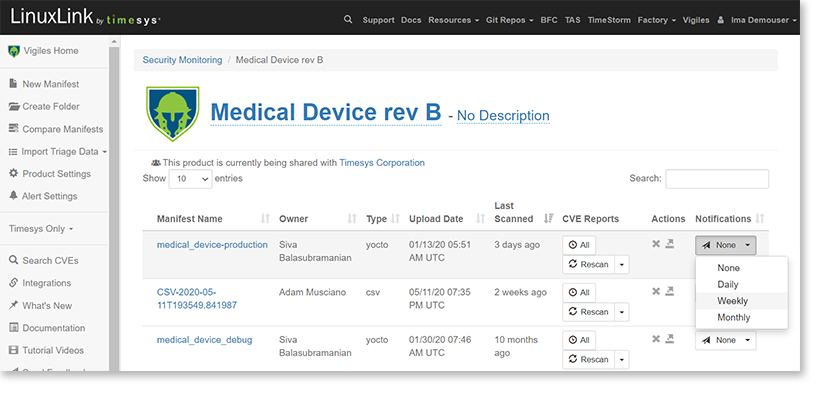
upload a new manifest

Vigiles Prime feature Vigiles Plus feature Vigiles Free feature

Set Up Notification

Now that you’ve uploaded and scanned your SBOM/manifest for vulnerabilities, you can set up automatic notification of new alerts affecting your product software at your preferred cadence. You can choose to receive notification daily, weekly or monthly.
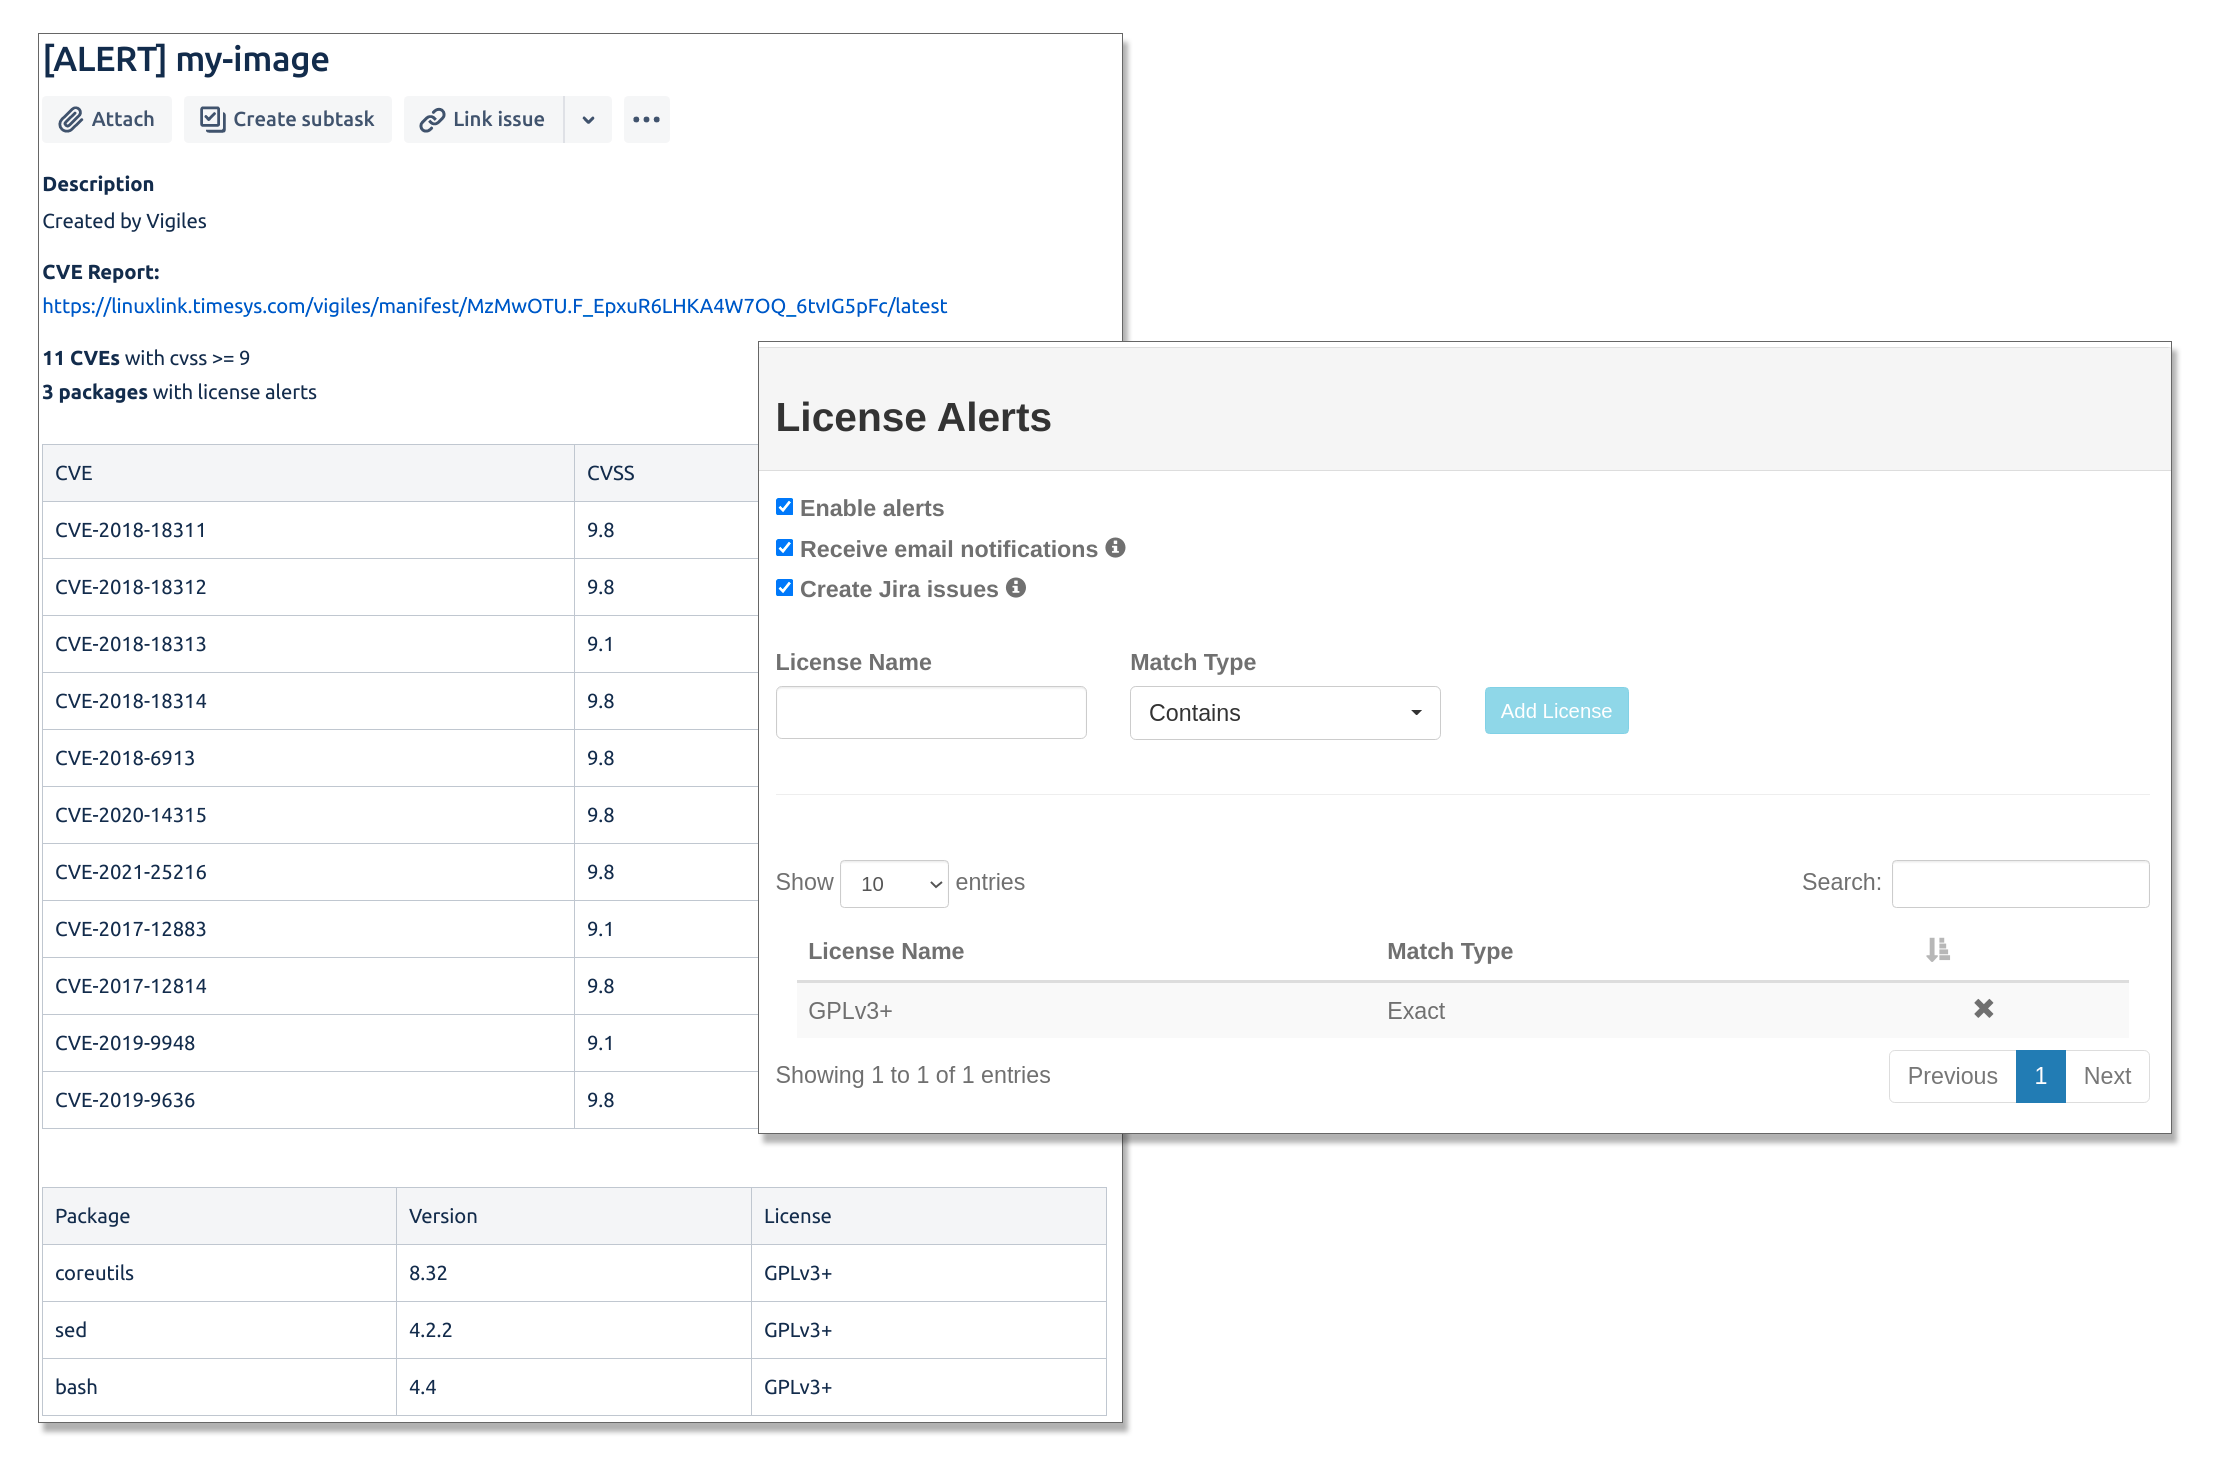
set Vigiles notification cadence

Vigiles Prime feature

Set Up Alerts

With Vigiles, you can set up automatic alerts for non-authorized license type and for CVEs exceeding CVSS score threshold.

You can choose to receive notification of CVSS and License alerts via email or to have an issue created in Jira.

Vigiles CVSS alerts and Licensing alerts help you with policy management

How to Achieve the Outcome You Want

These are the key takeaways from Parts 1 and 2 of your Vigiles Prime Evaluation Tutorial. They provide an overview of the big picture goals around different outcomes you might be prioritizing in your search for a CVE management tool.

See only vulnerabilities relevant to my product

Use the build integration if possible. Otherwise, use the CSV manifest option, and make sure you use good package names, include versions, include patch information, and include your kernel and U-Boot config information. This will ensure you only see vulnerabilities that apply to your system.

Get accurate information from the vulnerability database

The NVD is a great resource. But the data listed can have some shortcomings. Inconsistent naming of packages, typos in versions, incorrect coverage for which versions are affected, outdated information, and a lack of version information could all result in false positives. Our security team cleans up the data we curate, improving the accuracy of the data by 40% on average.

Quickly triage CVEs so that I can address only the critical vulnerabilities

Once your software bill of materials is scanned and your report is generated, you can filter the CVEs based on several metrics: package affected, patch or fix availability, CVE severity, custom scoring, affected platforms, whether or not you added notes or comments, and kernel and U-Boot configuration options. If you can’t find a filter that works in your triage, let us know, and we’ll look into adding it.

Coordinate CVE management within my team and integrate into issue tracking systems

Each Vigiles subscription initially includes 10 seats. They will be assigned to the same team, allowing manifests to be shared and enabling other team members to add notes to CVEs and to whitelist them.

Vigiles can be connected to Jira and generate issues from within the Vigiles report interface.

Find appropriate fixes faster

For all of the CVEs that are found in your scanned manifest, Vigiles will let you know if there is a fix that will remediate the vulnerability or if there is no known fix yet available. If there is a fix for the vulnerability, Vigiles will give you the patch, minimum version, and or config option information needed to mitigate it. Links to the appropriate resources are also available in the report.

Collect changes quickly for regulatory purposes

Compare reports between builds as well as between entirely different products. You’ll get the package and vulnerability changes, and you can use this information to meet your regulatory requirements.

Easily continue monitoring for new CVEs and changes

Set up periodic scans for your manifest at a daily, weekly, or monthly cadence. When new CVEs come up, we’ll send out a link to the new report via email.

Our security team will also provide early notification of new CVEs, usually by 2 weeks ahead of the NVD.

You can also set up alerts that will be triggered based on CVSS score thresholds, custom score thresholds, or the addition of packages that have a non-authorized license type.

IN CASE YOU MISSED IT:
Getting a Software Bill of Material (SBOM)/Manifest into your account, Scanning for CVEs, and Reading and Interpreting the Scans

If you haven’t viewed Part 1 of your Vigiles Prime Evaluation walk-through, you can catch up what you’ve missed at https://timesys.com/part1-features-vigiles-prime-eval/.

Get a feature walk-through that focuses on your use case.

Want to see a demo or specific features? Or discuss your use case to get a focused idea of where Vigiles fits into your workflow?

Fill out the form to schedule a free consultation. We’ll be happy to help answer your questions.

* Denotes required field.
 

Additional Resources